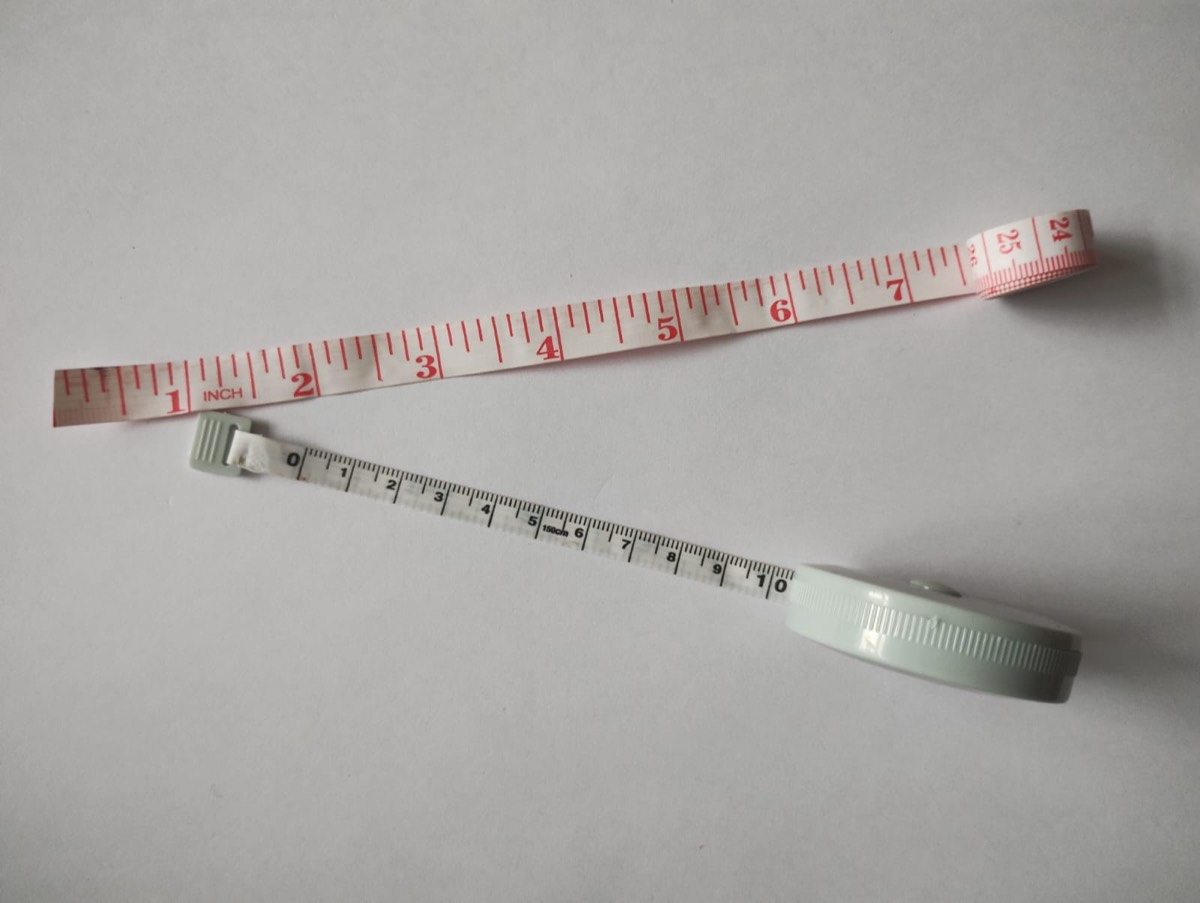

Ease tables are useful, but they cannot see the sweater you actually wear. A garment you already like has a finished measurement, a fabric and a fit that you can measure directly. That is often a better starting point than choosing an ease number from a chart.
You need the body measurement and the finished garment measurement. The difference is the ease.
Measure the garment flat
- Lay the garment flat and smooth it with your hand. Do not stretch it.
- Measure across the chest, from side seam to side seam. Double that number to get the finished chest circumference.
- Measure the waist and hip the same way if the garment is shaped.
- Measure the body length from the shoulder seam to the hem, and the sleeve from the underarm to the cuff.
For a garment with a front opening, close the buttons or zip before measuring. For a very stretchy fabric, measure it relaxed and note that the finished measurement will move when worn.
A worked example: compare with the body
Subtract the body measurement from the finished garment measurement. A positive number is positive ease; a negative number is negative ease.
Example: a sweater measures 52 cm flat across the chest, so the finished chest is 104 cm. The wearer's bust is 96 cm. The ease is 104 − 96 = 8 cm of positive ease.
A fitted sweater might measure 94 cm on the same body: 94 − 96 = −2 cm, or 2 cm of negative ease.
Use the number
Compare the measured ease with the pattern's finished measurements. If the pattern's finished chest is 104 cm and your body is 96 cm, the pattern is designed for the same 8 cm of ease as the sweater you measured. If the pattern is 98 cm, it is a closer fit.
Check the sleeve and armhole too. A garment can have the right chest ease and a sleeve that is too tight or an armhole that sits too low.
Pitfalls
- Measuring a stretched garment. Let it rest flat, and measure in two or three places.
- Measuring over a bulky sweater. The outer garment's measurement includes the layers underneath.
- Ignoring ribbing. Ribbed panels pull in; measure a plain area if you want the fabric's true width.
- Forgetting the seams. Seam allowances are already included in a finished garment, but a flat pattern piece may not include them.
- Assuming the label size is the measurement. Size labels vary; the tape measure does not.
When the garment is very stretchy
Negative ease in a ribbed or highly elastic fabric is hard to compare with a woven garment. Measure the garment relaxed and again gently stretched to the body's circumference. The difference tells you how much the fabric is doing; use the relaxed measurement for the pattern comparison.
Shaped garments need more than one measurement
A shaped sweater may fit at the chest and pull at the hip. Measure the waist and hip as well, and compare them with the pattern's finished measurements. If the pattern is graded by bust only, check whether the hip measurement is included in the schematic before choosing a size.
Write down the body measurement, the finished garment measurement and the ease. A note on the garment label or in a project file makes it easy to compare a future pattern with a fit you already know.
Limits
A favourite garment is a reference, not a standard. Posture, layering and personal preference all affect what feels right. Use the measurement to narrow the choice, then check the pattern's schematic and the fabric behaviour before committing.
Compare the result with the intended ease and the body measurements.