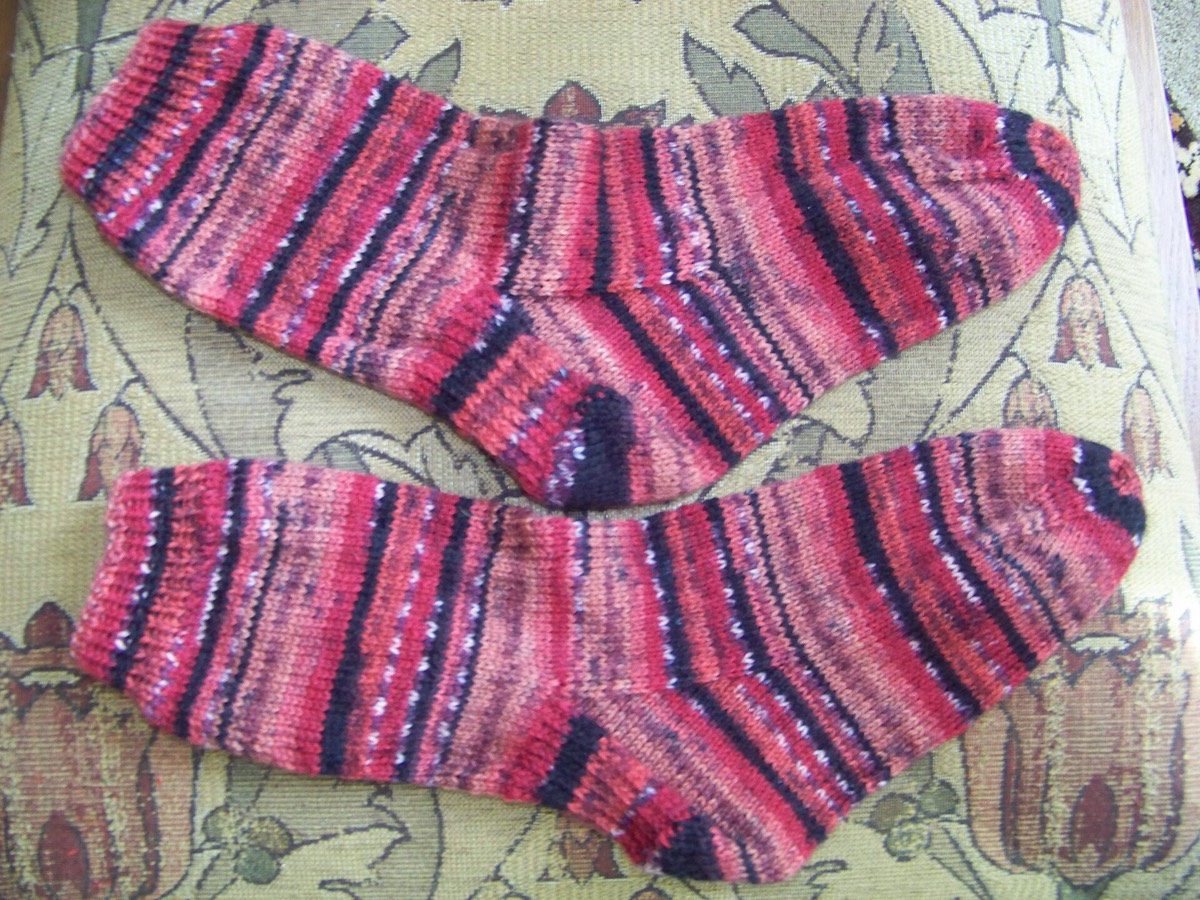

Short rows add length to one part of a piece without adding rows across the full width. They are used for bust darts, neckline shaping, shoulder slopes and sock heels. The technique is simple; the arithmetic is where projects go wrong.
There are three numbers to decide: how many extra rows, how many turning points, and how many stitches each turn covers.
1. How many extra rows?
Start with the extra length you need and convert it using your row gauge:
extra rows = extra length × rows per centimetre.
If you need 4 cm of extra length and your row gauge is 3 rows per cm, that is 12 extra rows. Those rows are worked only across part of the width, so they create a wedge rather than a full-width block.
2. How many turning points?
The extra rows are divided into short rows. More turns create a smoother curve; fewer turns create a more angular wedge. For a bust dart, two to four turns is common; for a sock heel, the heel construction decides the number.
If the 12 extra rows are worked as four short rows of three rows each, the wedge has four steps. The rows per turn are the extra rows divided by the number of turns: 12 ÷ 4 = 3.
3. How many stitches per turn?
The turning point moves across the width. If the shaping area is 100 stitches wide and you use four turns, each turn can move about 25 stitches:
stitches per turn = width in stitches ÷ number of turns.
That is a starting point, not a rule. The shape you want — a gentle curve or a sharper wedge — decides whether the turns are evenly spaced or clustered.
A worked example
Bust width 100 stitches. You want 4 cm more length at the bust. Row gauge 3 rows per cm.
- Extra rows: 4 × 3 = 12.
- Turns: 4 short rows, 3 rows apart.
- Stitches per turn: 100 ÷ 4 = 25.
Work 25 stitches, turn; work back; work 50, turn; work back; work 75, turn; work back; then work across the full row. The exact sequence depends on whether you are working flat or in the round and on the short-row method.
Choose a method
- Wrap and turn. The traditional method; the wrap is picked up and worked with the stitch to close the gap.
- German short rows. The turning stitch is pulled into a double stitch and worked together on the return.
- Japanese short rows. A removable marker holds the turn; the loop is lifted and worked with the stitch.
The method affects how visible the turning points are, not the arithmetic. Choose one you can work consistently, and swatch it if the fabric is lacy or highly textured.
Where the maths matters most
- Bust darts. Extra length over the bust; the turns should sit where the body curves.
- Necklines. Short rows raise the back neck or lower the front without adding width.
- Shoulder slopes. A series of short rows makes a sloped shoulder seam.
- Sock heels. The heel turn is a short-row sequence with its own stitch counts.
Working in the round
Short rows in the round are worked on the right side, then turned and worked back on the wrong side. The turning points create a small gap that is closed with the chosen method. If the pattern is worked in the round, swatch the short-row method in the round; a flat swatch can hide how the turns behave at the join.
Limits
Short-row shaping is design-specific. The numbers above show the arithmetic, not a universal bust-dart recipe. The right number of turns depends on the shape, the fabric and the garment. Swatch the method, check the turning points on the wrong side, and adjust before working the real piece.
Check the ease and the stitch counts before placing the turns, then confirm the count with the calculator.