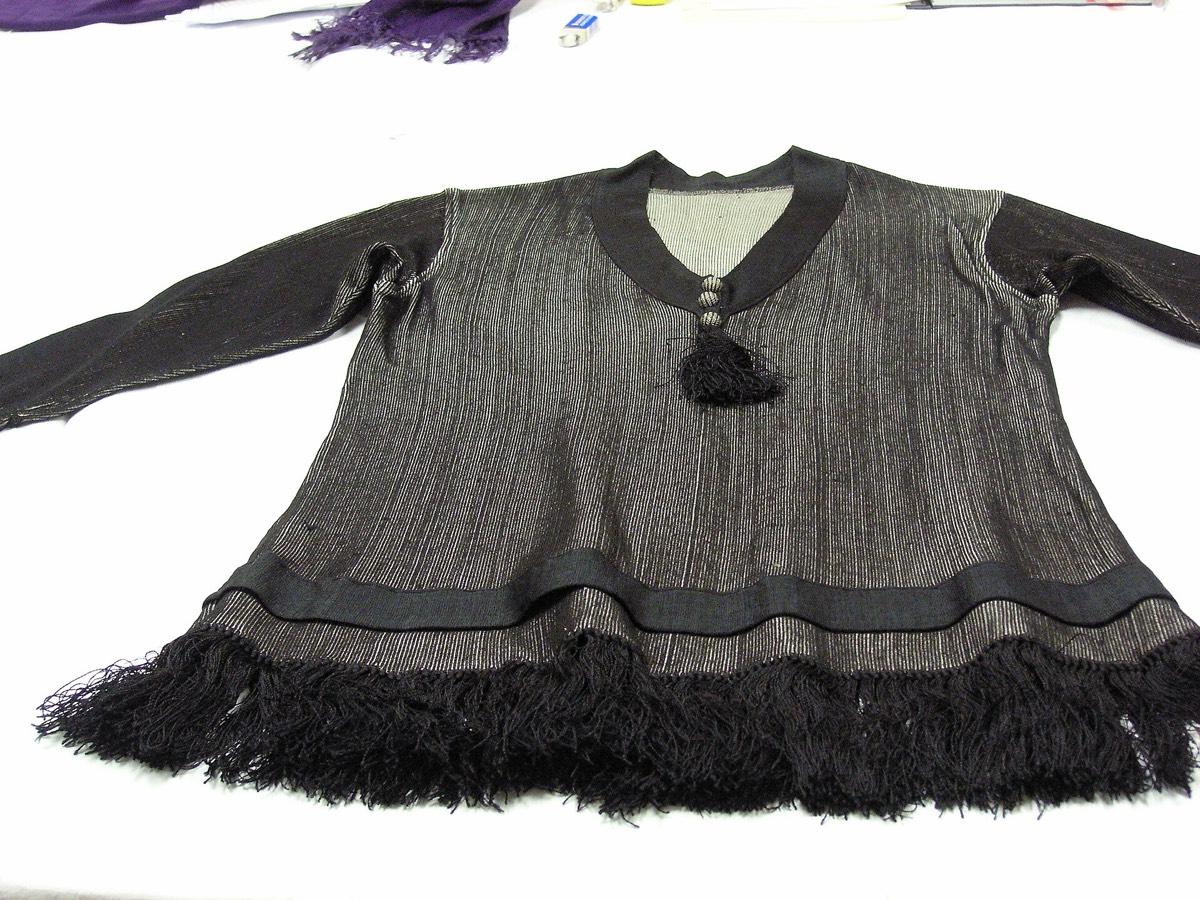

Set-in sleeves are the part of garment maths where a few centimetres of armhole depth become a visible fit problem. The good news is that you do not need a drafting system. You need four measurements, a gauge, and a garment that already fits.
This guide covers the arithmetic for a set-in sleeve. Raglan, drop-shoulder and kimono constructions use different shaping and are not covered here.
The four numbers
- Armhole depth. The vertical opening on the body, from the underarm to the shoulder seam.
- Upper arm circumference. The fullest part of the arm, plus ease.
- Wrist circumference. The cuff opening, plus ease.
- Sleeve length. From the underarm (or shoulder, depending on the construction) to the wrist.
You also need the body chest measurement and its ease, because the armhole sits inside the body width.
1. Measure a garment that fits
The safest source of armhole depth and cap height is a garment you already wear. Lay it flat and measure:
- armhole depth: underarm to shoulder seam;
- upper arm width: across the sleeve at the fullest point;
- sleeve length: underarm to cuff;
- cuff width: across the wrist opening.
If you do not have a suitable garment, use a pattern schematic as a reference and adjust with your own measurements. Do not invent a cap ratio from a single number.
2. Add ease
A set-in sleeve usually needs more ease at the upper arm than at the wrist. A common starting point is 2–5 cm at the upper arm and 1–3 cm at the wrist, depending on the garment style and the fabric. Add the ease to the body measurement before converting to stitches.
3. Convert to stitches
Multiply each circumference by your stitches per centimetre.
Example: upper arm 32 cm + 4 cm ease = 36 cm. At 2 stitches per cm, that is 72 stitches. Wrist 20 cm + 2 cm ease = 22 cm, or 44 stitches.
The sleeve therefore increases from 44 stitches at the cuff to 72 stitches at the upper arm — 28 stitches over the sleeve length.
4. Plan the sleeve increases
Decide the sleeve length and convert it to rows. At 3 rows per cm and a 40 cm sleeve, that is 120 rows.
If you increase 2 stitches per increase round, you need 14 increase rounds to add 28 stitches. Spread them over 120 rows: 120 ÷ 14 = 8.6, so work an increase round roughly every 8 or 9 rows. Put the first increase a few rows above the cuff and the last a few rows below the underarm.
5. Shape the armhole
Armhole depth 20 cm at 3 rows per cm is 60 rows. Decide how many stitches to remove per side. A common starting point is 8–12 stitches per side for a moderate set-in armhole, but the right number depends on the body width and the sleeve cap.
If you remove 12 stitches per side over 60 rows, that is 12 single decreases per side, or six double decreases. Spread them across the 60 rows and check the curve against a garment that fits. Many patterns bind off a few stitches at the underarm first, then decrease more slowly; the arithmetic is the same, but the first row removes more stitches.
6. The sleeve cap
The cap is the curved top of the sleeve. Its height is not automatically equal to the armhole depth; it depends on the construction and the desired shoulder shape. Measure the cap height on a garment that fits, or use a schematic.
The cap starts at the upper-arm stitch count and decreases to a small number at the top. The exact rate is a design decision; the important check is that the cap fits into the armhole without puckering or stretching.
A worked example
Body chest 100 cm + 8 cm ease = 108 cm. At 2 stitches per cm, cast on 216 stitches for the body.
Upper arm 32 + 4 = 36 cm → 72 stitches. Wrist 20 + 2 = 22 cm → 44 stitches. Sleeve length 40 cm → 120 rows; increase 28 stitches over 14 rounds, roughly every 8–9 rows.
Armhole depth 20 cm → 60 rows; remove 12 stitches per side, spread across the 60 rows. Check the cap height against a garment that fits before knitting the sleeve.
Limits
Set-in sleeves are only one construction. Raglans use diagonal decreases, drop shoulders use a straight armhole, and kimono sleeves use almost no shaping. The numbers above do not transfer to those constructions. Fabric drape and seam allowance also change the fit.
Start from body measurements, then turn the widths into stitches with the cast-on calculator.