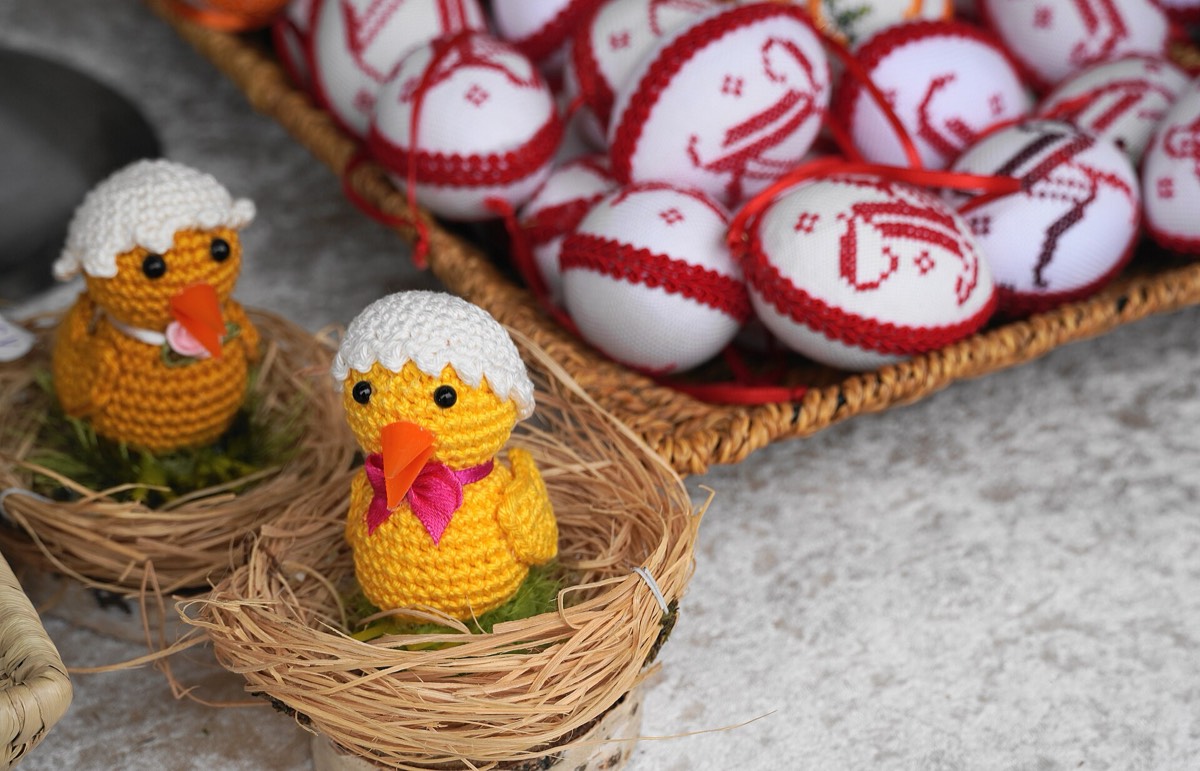

Amigurumi is crochet maths in its purest form. A toy is a tube or a sphere built from a fixed number of stitches and rounds. Change the gauge and the toy changes size; change the increases and the shape changes. The good news is that the arithmetic is visible on the first page of almost any pattern.
The basic rule: finished size = stitches × stitch size, and height = rounds × row height.
Start with the size you want
- Decide the finished height and circumference.
- Crochet a swatch in the pattern's stitch — usually single crochet — and measure stitches and rounds over 10 cm.
- Calculate the stitch count: circumference × stitches per cm.
- Calculate the round count: height × rounds per cm.
- Build the increase and decrease sequence to reach those numbers.
A worked example
You want a toy about 15 cm tall and 30 cm around. Your gauge is 20 single crochet stitches per 10 cm and 20 rounds per 10 cm.
- Circumference 30 cm × 2 stitches per cm = 60 stitches.
- Height 15 cm × 2 rounds per cm = 30 rounds.
A common amigurumi start is 6 single crochet in a magic ring, increasing 6 stitches per round. That gives 6, 12, 18, 24, 30, 36, 42, 48, 54, 60 — nine increase rounds to reach 60 stitches. Then work straight rounds for the body, and decrease at the top or bottom as the shape requires.
If your gauge is 22 stitches per 10 cm instead of 20, the same 60 stitches make a 27.3 cm circumference — about 2.7 cm smaller. Swatch first, or accept that the toy will be a little smaller.
Why amigurumi uses a small hook
Amigurumi fabric needs to be dense so the stuffing does not show through. Many patterns use a hook smaller than the yarn label's suggested size, which makes a tight fabric with small gaps. That is intentional; do not “correct” it to the label range unless the pattern says so.
Stuffing
Stuff firmly enough to hold the shape, but not so firmly that the fabric stretches and the stitches open. Add stuffing in small pieces and shape as you go. For a long piece, stuff gradually rather than pushing all the stuffing in at the end.
Safety
If the toy is for a child, treat small parts seriously. Safety eyes and noses should be installed according to the manufacturer's instructions and secured from the inside. Avoid loose beads, buttons or long fibres for children under three. Commercial toy safety standards exist (for example EN 71 and ASTM F963), but a handmade toy is not automatically compliant; if the toy is for a child, follow the relevant standard and use suitable materials.
Shaping the sphere
A sphere is usually built by increasing from a small ring to the widest round, working straight for the middle, then decreasing back to a small opening. The number of straight rounds controls how round or elongated the shape is. Increasing too quickly makes a flat disc; increasing too slowly makes a cone. Count the rounds, not just the stitches.
Gauge drift
Amigurumi is worked in a spiral, and tension can tighten as the piece grows. Check the first few rounds against the intended size; if the toy is coming out small, go up a hook size before the shape is set. A finished toy is difficult to resize after the fact.
Limits
Amigurumi shaping is pattern-specific. The increase sequence above is a simple sphere or tube, not a universal recipe for every animal. The right number of rounds and increases depends on the shape, the yarn and the stuffing. Swatch the stitch and check the first few rounds before committing to the whole toy.
Check the hook tension and the stitch count before stuffing, then confirm the hook size with the converter.