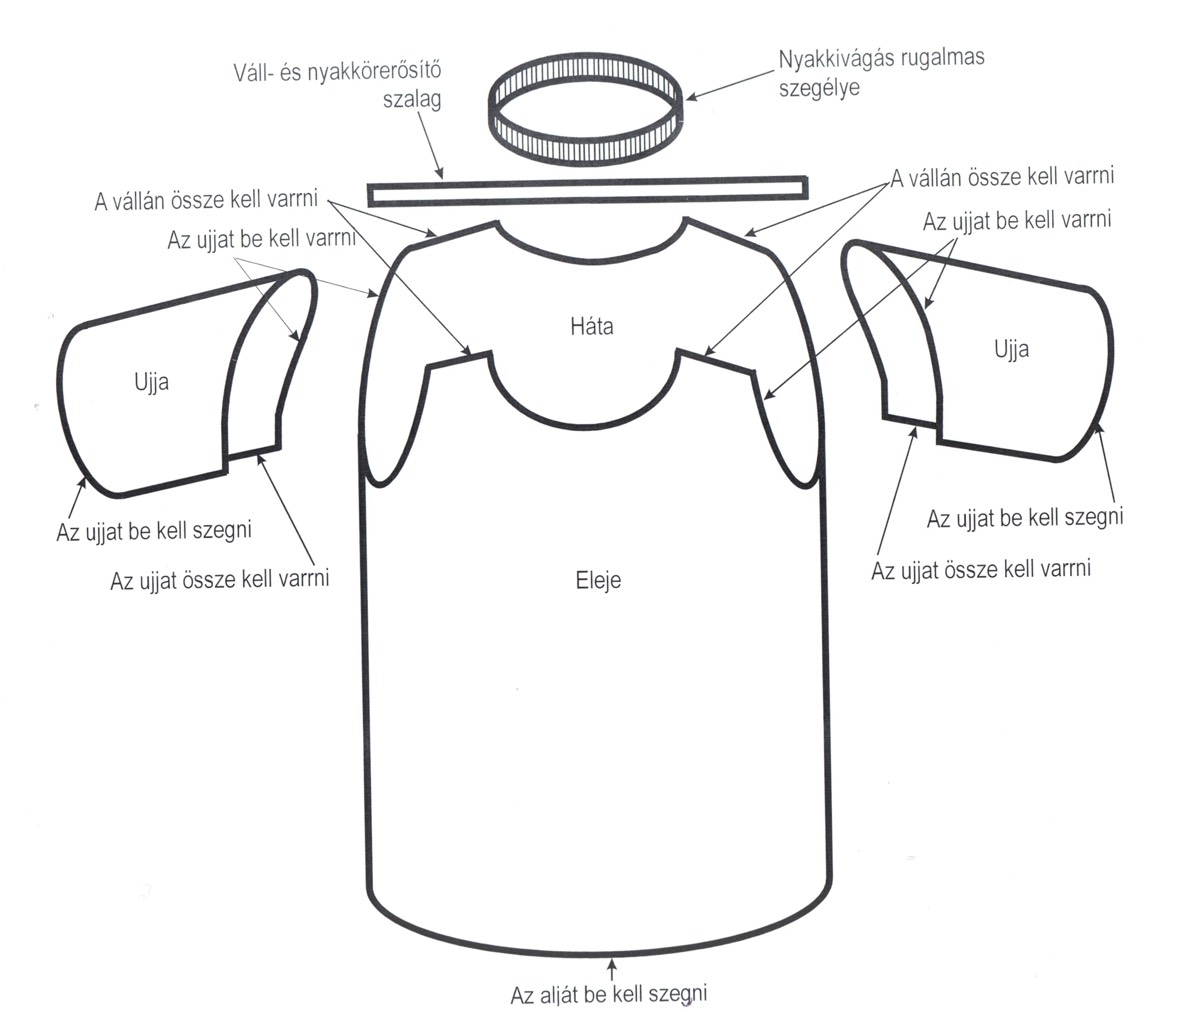

A knitting schematic is the drawing that shows the finished measurements of the garment. It is often the most useful page in a pattern and the one most often skipped. The written instructions tell you how to knit; the schematic tells you what you are knitting toward.
Read it before you choose a size. If the schematic and the size label disagree, the schematic is usually the more reliable guide.
What the schematic shows
- Finished chest or bust. The circumference of the garment, not the body.
- Body length. Usually from the shoulder or underarm to the hem; check which.
- Sleeve length. From the underarm or shoulder to the cuff; the schematic should say which.
- Armhole depth and sleeve cap. The vertical shaping that decides how the sleeve sits.
- Neck width and depth. The opening, not the finished collar.
- Ease. Some schematics state the intended ease; others leave you to calculate it.
Read it against your body
- Measure your chest, waist and hip.
- Choose the ease you want for the style.
- Add the ease to the body measurement to get the target finished measurement.
- Find the schematic size closest to that number.
- Check the length, sleeve and armhole as well as the chest.
A worked example
Your bust is 96 cm. You want a classic sweater with 8 cm of positive ease, so the finished chest should be about 104 cm.
The schematic lists sizes with finished chests of 96, 104 and 112 cm. The 104 cm size is the target. The 96 cm size would be zero ease — a different fit; the 112 cm size would be 16 cm of ease — a looser garment.
Now check the length and sleeve. If the 104 cm size has a 58 cm body and a 45 cm sleeve, compare those with a sweater you already like. The chest can be right while the sleeve is too short.
“To fit chest” vs “finished chest”
Some patterns label sizes by the body they are intended to fit (“to fit chest 96 cm”) and some by the finished garment (“finished chest 104 cm”). They are not the same number. Read the label at the top of the schematic. If the pattern only gives one, look for the ease statement or calculate the difference.
Common mistakes
- Choosing a size by the label alone. The label is a shorthand; the finished measurement is the fact.
- Ignoring the schematic’s length. A cropped body or a short sleeve can make a well-fitting chest feel wrong.
- Assuming all sizes scale evenly. Grading can change the armhole, neck and sleeve proportions.
- Forgetting ease. A finished chest equal to your body is a fitted garment, not a classic one.
What schematics leave out
A schematic usually shows the main finished measurements, not every detail. It may omit the neckband depth, the cuff length or the exact curve of an armhole. Use the written instructions for those details, and treat the schematic as the size map rather than a complete construction drawing. If a key measurement is missing, measure a garment you own before guessing.
Check the schematic against the written instructions
The schematic gives measurements; the instructions give stitch counts. If the two disagree, trust the schematic for size and the instructions for construction. A pattern with an inconsistent schematic is a warning sign; check the errata before casting on.
Limits
A schematic is a simplified drawing. It may not show every curve, and some patterns omit the armhole or sleeve cap. Use it as the primary source for finished measurements, then check the written instructions for construction details.
For the numbers behind the diagram see body measurements and ease.