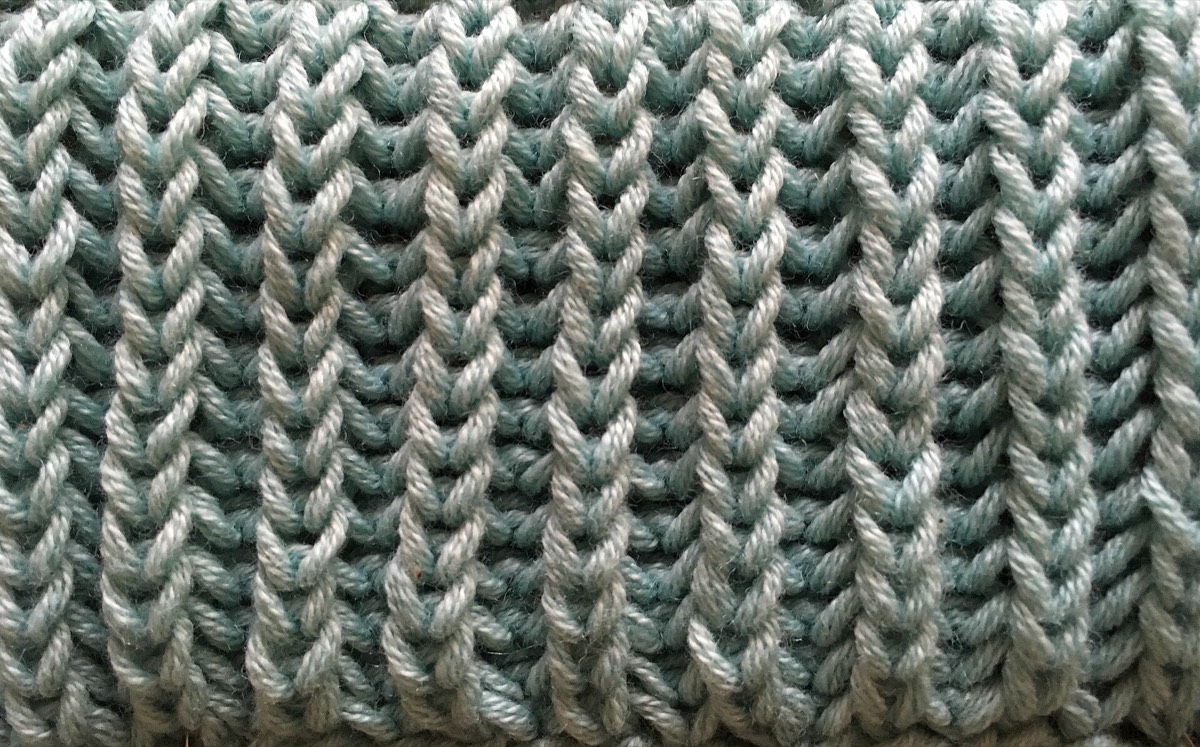

A pattern gauge is a recommendation, not a law. If your swatch gives a different number, you have two honest options: change needles until you match, or keep your gauge and recalculate the pattern's stitch counts. The first is simpler; the second is sometimes the only way to get the fabric you want.
This guide covers the second option, and the places where it stops being safe.
Start with the percentage
Compare your stitch gauge with the pattern's:
adjustment = your stitches per cm ÷ pattern stitches per cm.
If the pattern is 20 stitches per 10 cm and you get 22, the ratio is 2.2 ÷ 2.0 = 1.1. Your fabric is 10% denser, so every width needs about 10% more stitches to reach the same measurement.
Adjust the widths
For a 100 cm body at the pattern gauge, the pattern uses 200 stitches. At your gauge, the same 100 cm needs 220 stitches. Cast on 220, not 200.
Do the same for the sleeve, neck and any other width. A 40 cm sleeve at 2 stitches per cm is 80 stitches; at 2.2 it is 88. The difference is visible.
Adjust the shaping
Shaping is written in rows and stitch counts, not just widths. If the armhole decreases 12 stitches over 60 rows, you need to decide whether to keep the depth or the rate:
- Keep the depth. Use the row gauge to convert 20 cm to your rows, then spread the decreases across that number.
- Keep the rate. Decrease every 10 rows as written, and accept that the armhole depth changes.
For a fitted garment, keep the depth and recalculate the rate. For a loose garment, the rate may matter less.
A worked example
Pattern: 20 stitches and 24 rows per 10 cm, 100 cm body, 20 cm armhole, 12 stitches removed per side.
Yours: 22 stitches and 26 rows per 10 cm.
Body: 220 stitches. Armhole depth: 20 cm × 2.6 rows per cm = 52 rows. Remove 12 stitches per side across 52 rows, using single or double decreases as the pattern does. Sleeve: 40 cm × 2.2 = 88 stitches at the upper arm; recalculate the cuff and the increase rate in the same way.
Watch the stitch multiples
Ribbing, lace, cables and colourwork have repeats. A cast-on of 220 may not be a multiple of the pattern repeat. Adjust to the nearest multiple, then check that the difference is acceptable. If the pattern repeat is wide, the adjustment may move the fit by a centimetre or two.
When not to recalculate
- Complex grading. A tailored garment with set-in sleeves, a shaped armhole and a sleeve cap has many interconnected numbers; recalculating all of them is a re-draft, not an adjustment.
- Colourwork with a fixed chart. The chart may not fit the new stitch count.
- Large differences. A 20% gauge difference is usually a different yarn or needle, not a simple recalc.
In those cases, change the needle, choose another size, or use a different pattern.
Check the fabric, not only the numbers
A recalculated stitch count can make the measurements right while the fabric is wrong. If your gauge is denser, the garment will be denser and less drapey. Hold the swatch and decide whether you like it before committing to the arithmetic.
Limits
Recalculating stitch counts does not change the fabric. If your gauge is denser, the finished fabric will be denser; if it is looser, it will be looser. Make sure you like the swatch before committing to the arithmetic.
Recalculate the cast-on and re-swatch; the gauge guide covers the measurement, and the calculator does the count.