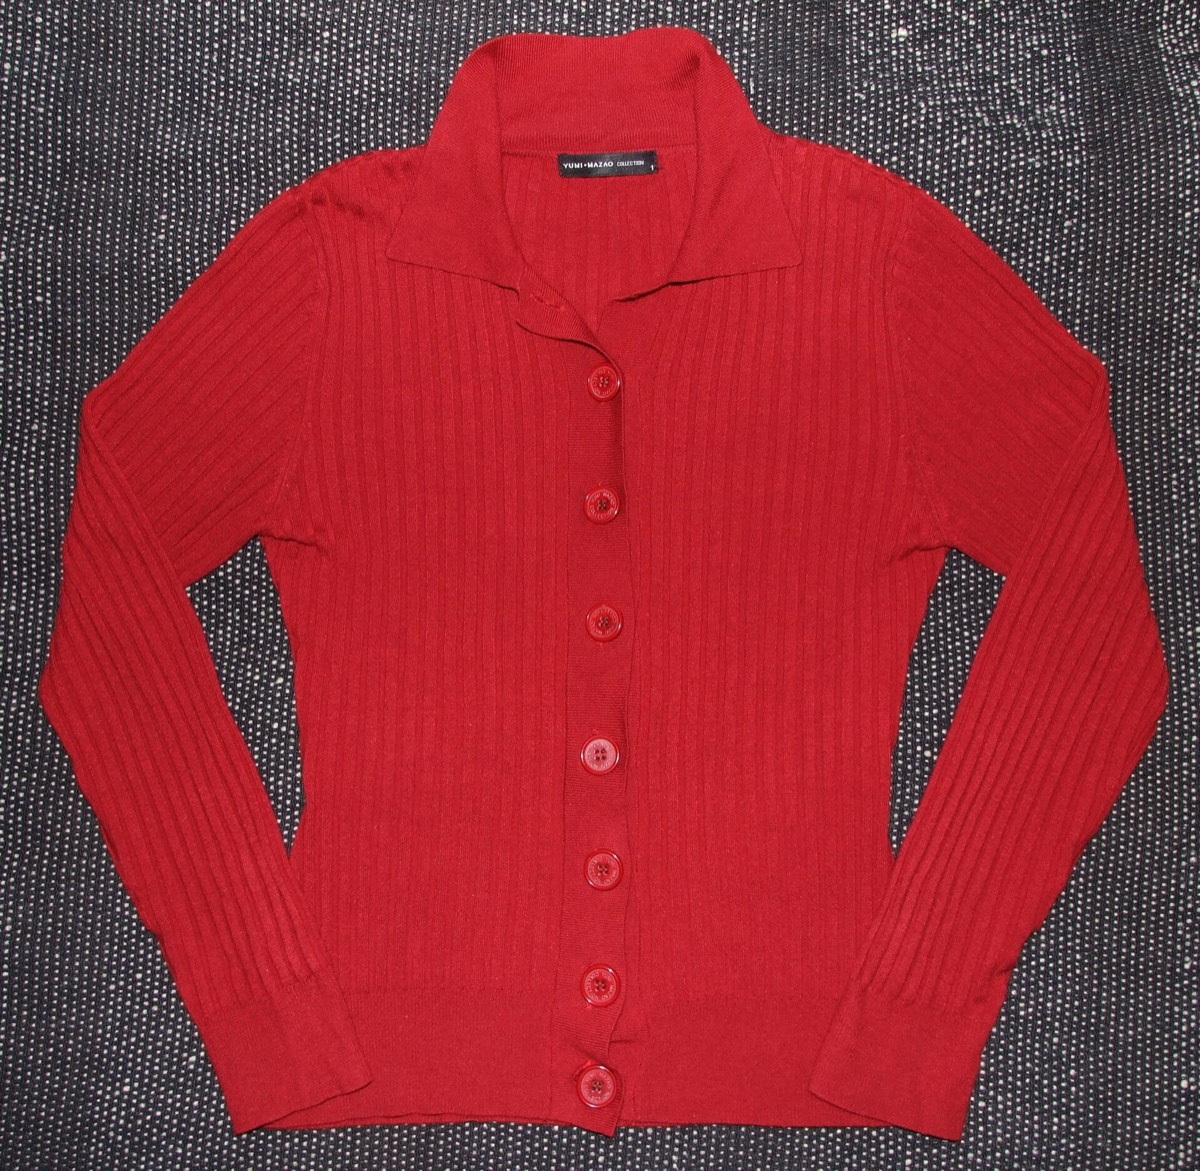

A button band is a narrow strip of knitting picked up along the front opening. It looks simple, but it combines two problems: picking up the right number of stitches evenly, and spacing the buttonholes so the band lies flat.
Get the ratio right and the band sits cleanly. Get it wrong and it pulls the front edge in or ripples along the seam.
Pick up evenly
- Measure the front edge from hem to neck.
- Use about three stitches for every four rows along a vertical edge.
- Adjust to the rib multiple: 2 for 1×1, 4 for 2×2, 6 for 3×3.
- Pick up under both strands of the edge stitch, not just the outer loop.
- Use a needle one size smaller for the pick-up round, then switch to the band needle.
A worked example
A front edge is 60 cm long. At 3 stitches per 4 rows and a row gauge of 3 rows per cm, the edge has 180 rows. 180 × 3 ÷ 4 = 135 stitches.
A 2×2 rib needs a multiple of 4. 135 is not a multiple of 4; round to 136. Pick up 136 stitches, then work the band in 2×2 rib.
Place the buttonholes
Decide the number of buttons and the spacing. A common formula is:
spacing = band length ÷ (number of buttons + 1).
For a 60 cm band with 7 buttons, the spacing is 60 ÷ 8 = 7.5 cm. Place the first buttonhole 7.5 cm from the hem, then every 7.5 cm. Check that the top buttonhole sits where you want it at the neck; adjust the spacing slightly if needed.
Work the buttonholes on the right or left band according to the pattern or your preference. A simple yarn-over buttonhole needs a matching decrease; a one-row buttonhole is neater for a wide band.
Avoiding gaps
- Pick up consistently. Count in sections rather than eyeballing the whole edge.
- Do not stretch the edge. Pick up the stitches as the edge lies, not pulled tight.
- Use a smaller needle for the pick-up round, then the band needle.
- Block the band. A wool band relaxes after washing and often lies flatter.
- Check the buttonhole size. A hole that is too large gaps; one that is too small will not take the button.
Band depth and stability
A narrow band can curl; a deeper band lies flatter but uses more yarn. For a cardigan, a band of 2–4 cm is common. A double-knit or folded band adds stability at the front edge and hides the picked-up edge, but it also adds bulk.
Buttonhole types
A yarn-over buttonhole is quick but stretches; a one-row or two-row buttonhole is neater for a wide band. Match the buttonhole size to the button diameter, and test it on a swatch. A buttonhole that is too large will gap; one that is too small will not fasten.
For a child's garment, place buttons closer together and add a reinforcing stitch around each hole.
If the front edge is shaped, measure each section separately and count in short sections. A curved edge needs more pick-up stitches per row than a straight one. Count the rows in sections; a long edge is easy to lose count on.
Limits
The ratio is a starting point. A very stretchy rib, a loose gauge or a shaped front edge may need a different count. If the band pulls or ripples, undo it and adjust by a multiple of the rib; the band is a small amount of knitting compared with the body.
Pick up along the edge and check the rate; the neckband guide covers the same principle.