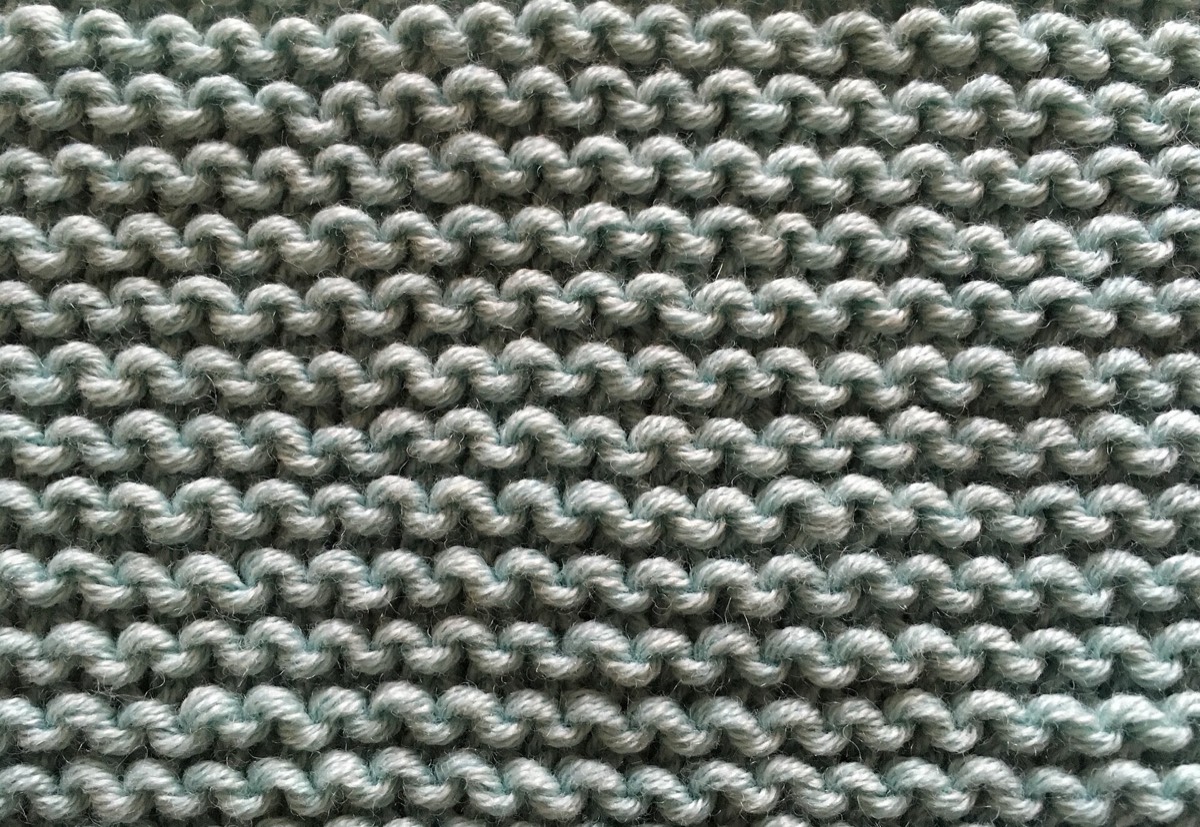

Short answer: knit at least 15 cm (6 in) square, and 20 cm is better. The 10 cm measurement target should sit in the middle of the swatch, surrounded by fabric that has not been distorted by edges.
That sounds fussy until you count what a small swatch is made of. A 10 cm swatch at 20 stitches per 10 cm contains about 20 stitches. The two edge stitches on each side are 20% of the sample, and they do not behave like the stitches in the middle. A 15 cm swatch reduces that edge effect to about 13%; a 20 cm swatch to 10%.
Why the edges matter
Cast-on edges are tight, bind-off edges are tight, and the first and last stitches of every row curl or pull. If you measure across the full width of a small swatch, you are measuring the part of the fabric that is least like the finished garment.
The same logic applies vertically. A short swatch has a disproportionate number of cast-on and bind-off rows. That is one reason row gauge measured on a 10 cm square can be several rows away from the gauge in the middle of a sweater.
A worked example: calculating the cast-on
Start from your expected stitch gauge and add a margin on each side. If you expect 22 stitches per 10 cm and want a 15 cm-wide swatch, the middle needs 22 × 1.5 = 33 stitches. Add 4–6 edge stitches, and cast on about 40. That gives you roughly 18 cm of fabric and a clean 10 cm window in the middle.
For a 20 cm swatch at the same gauge, cast on about 50 stitches. The exact number is less important than having enough fabric on both sides of the measurement window.
Leave room for the pattern repeat
If the project uses a cable panel, lace repeat or colourwork motif, the swatch needs at least one full repeat, preferably two. A 12-stitch cable repeat in a 40-stitch swatch gives you only three repeats, and the edge cables distort the measurement. Cast on enough for two or three full repeats plus edges.
Swatch the dominant pattern, not just stockinette. A stockinette swatch cannot tell you what a cable panel does to the finished width, and a lace swatch measured before blocking is not the fabric you will wear.
Wash it, then measure
Bind off, wash and dry the swatch the way you intend to treat the finished object. Lay it flat without stretching. Then measure in the middle, in two or three places, and average the counts.
If the swatch changes dramatically after washing, that is useful information, not a failed swatch. Superwash wool can relax and widen; cotton can grow; alpaca can stretch under its own weight. Measure the fabric you will actually have.
What to record
A swatch is only reusable if you write down the conditions. Record:
- stitch and row gauge over 10 cm, after washing;
- needle size and brand;
- yarn name and colourway;
- the stitch pattern used;
- how the swatch was washed and dried;
- the date.
Without the needle and washing note, a gauge number is hard to reproduce six months later.
Common mistakes
- Knitting exactly 10 cm. The measurement target is 10 cm; the swatch should be larger.
- Measuring at the edge. Count stitches and rows in the middle, between pins.
- Stretching the swatch flat. Let it lie naturally; if it curls, pin the corners lightly.
- Measuring before washing. The finished object will be washed at least once.
- Swatching a different stitch pattern. Cables, lace and colourwork change the gauge.
When to go bigger
Go to 20 cm or more when the gauge is loose, the yarn is slippery or heavy, the pattern repeat is wide, or the project is a fitted garment. The larger the swatch, the more confidence you have that the middle is representative. The cost is a little more yarn and time; the benefit is catching a gauge problem before the body of a sweater.
Limits
A swatch is a sample, not a guarantee. Gauge can drift across a large project, and a swatch knit in one sitting may not match fabric knit over three weeks. Check the gauge again after the first few inches of the real project, while changing course is still cheap.
Size the swatch first, then measure it; the gauge guide covers the counting and the base distance.