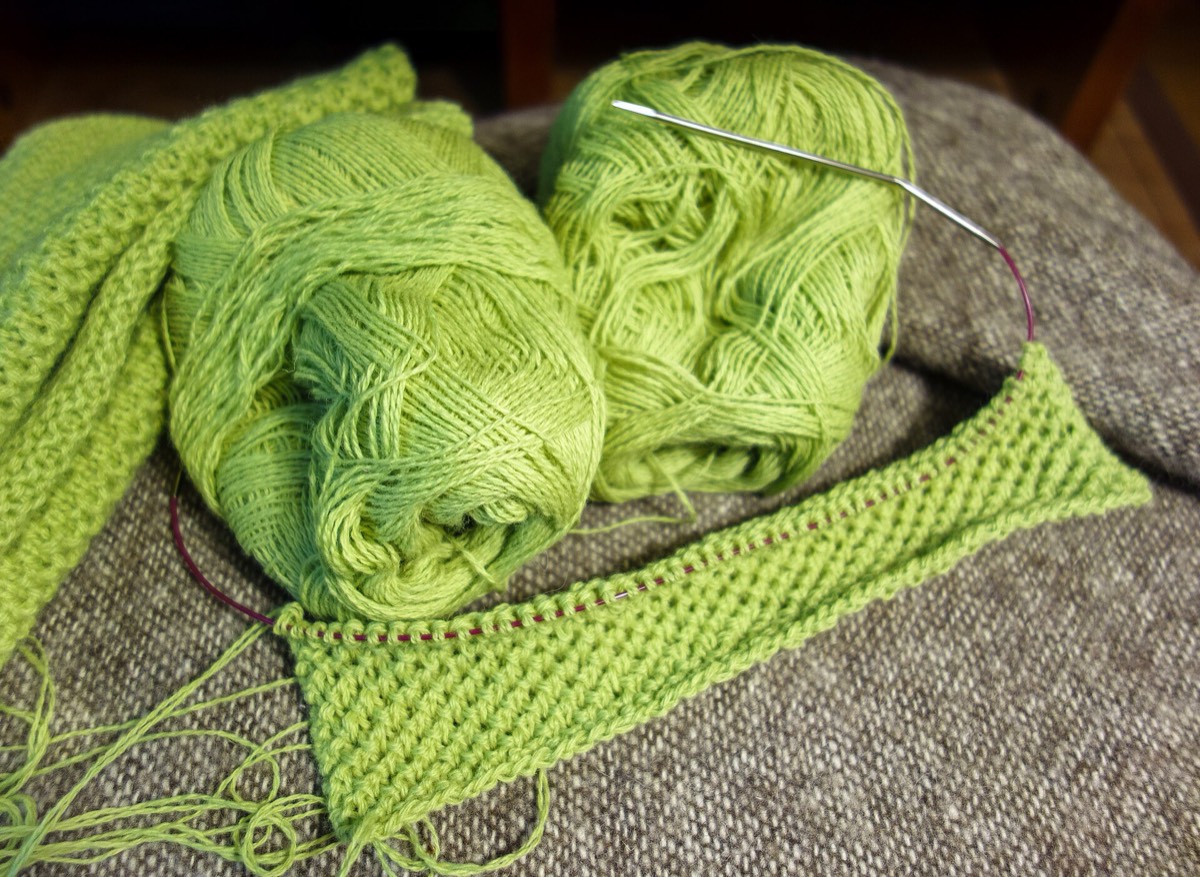

Gauge is the number of stitches and rows that fit into a measured area of fabric. Every calculator on this site depends on it, and almost every gauge problem comes from measuring a swatch that was never finished, never washed, or stretched flat to make the number look right.
1. Knit a swatch big enough to measure
Cast on enough stitches for at least 15 cm (6 in) of fabric in the stitch pattern you will actually use. A 10 cm swatch is the measurement target, not the knitting target: edges curl, stitches crowd near the cast-on, and you need untouched fabric in the middle to count.
If the project is mostly stockinette, swatch in stockinette. If it has a cable panel or colourwork, swatch that. A stockinette swatch will not tell you what a stranded pattern does to your row gauge.
2. Treat the swatch like the finished object
Bind off, then wash and dry it the way you intend to wash the garment. Wool blooms, cotton relaxes, superwash stretches, and acrylic can change after its first wash. Measuring a freshly bound-off swatch tells you what the yarn does on the needles, not what the fabric will do on a body.
Dry the swatch flat unless the care label says otherwise. If you plan to hang the finished piece, hang the swatch while it dries and measure it again — some fibres grow under their own weight.
3. Measure in the middle, in more than one place
Lay the dry swatch flat without stretching it. Place a rigid ruler across the middle and count stitches over 10 cm. Count the whole stitches between two pins rather than eyeballing a fraction at the edge.
Repeat the measurement in two or three places and average them. If the counts differ by more than one stitch, the fabric is not settled or the swatch is distorting; wet it again and remeasure.
4. Decide which number you are reporting
Most patterns state gauge over 4 inches, while most metric patterns state it over 10 cm. Those are not the same distance: 4 inches is 10.16 cm. The difference is small — about 1.6% — but it is enough to shift a 200-stitch sweater by three stitches.
Record both the base and the count, for example “22 sts / 10 cm” or “18 sts / 4 in”. The cast-on calculator lets you choose the base so the arithmetic stays honest.
5. Count rows separately
Row gauge is less critical for many garments because patterns are written by length rather than by row count. It matters for raglan shaping, set-in sleeves and anything with a fixed vertical repeat. Measure rows over the same 10 cm, in the middle of the swatch.
A short checklist
- Swatch at least 15 cm wide, in the real stitch pattern.
- Bind off and wash before measuring.
- Dry the way the finished object will be dried.
- Measure the middle, not the edge.
- Count whole stitches between pins, over 10 cm or 4 in.
- Write down the base distance as well as the count.
What to do with the number
Once you have a gauge you trust, the rest is multiplication. The cast-on calculator converts gauge and finished width into stitches. If your gauge does not match the pattern, change one variable at a time and re-swatch before you change needles.
Limits
A gauge swatch is a sample, not a promise. The number can shift with needle material, hand tension, humidity and the weight of a larger piece. Check the gauge again after the first few centimetres of the real project, and adjust if the fabric has changed. For a large garment, a second measurement is cheaper than a reknit.
A worked example
The pattern asks for 22 stitches per 10 cm, and you want a 55 cm body. Your swatch gives 24 stitches per 10 cm. The cast-on is 24 ÷ 10 × 55 = 132 stitches. At the pattern’s gauge, 132 stitches would produce 60 cm, so the same stitch count would knit a wider garment.
Either match the pattern gauge with a larger needle and re-swatch, or keep 24 stitches per 10 cm and cast on 132 for the 55 cm body. Decide before the ribbing; the maths is cheaper than the reknit.