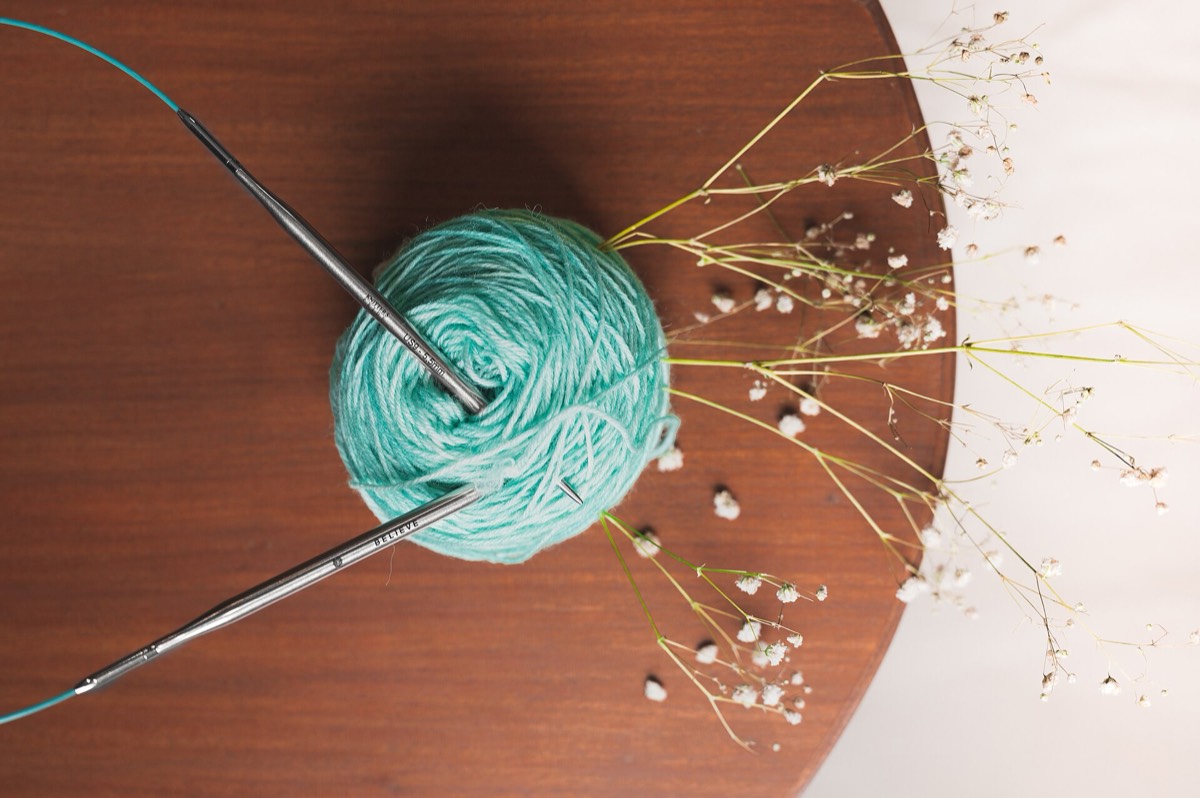

A circular needle has two numbers that matter: the tip size in millimetres and the cable length. The tip size controls gauge. The cable length controls how the stitches sit — and the wrong length makes a project harder than it needs to be.
Too short and the stitches crowd, slip off the tips and distort the fabric. Too long and the stitches stretch around the cable, especially in the round, which can change the gauge you worked so hard to match.
A worked example: estimate from stitch count
Start with the finished fabric width, not the needle length:
- Divide your stitch count by your stitches per centimetre. That gives the fabric width.
- Add about 20–30% slack so the stitches can move around the needle.
- Choose the closest cable length. Cable length is measured tip to tip.
For 200 stitches at 20 stitches per 10 cm: 2 stitches per cm, so the fabric is 100 cm wide. Add 20% and you want a cable around 120 cm. An 80 cm cable will be crowded; a 100 cm cable may work if the fabric is compressible, but 120 cm is more comfortable.
Common starting points
| Project | Typical stitch count | Usual cable / method |
|---|---|---|
| Socks | 56–72 | 23 cm double-pointed needles, or 80–100 cm cable for magic loop |
| Hat | 80–100 | 40 cm cable |
| Sweater body | 200–250 | 80–100 cm cable |
| Blanket | 300+ | 100–150 cm cable |
These are starting points, not rules. A loose gauge needs more cable; a dense gauge can compress into less. A stitch pattern with large repeats may also need more room.
Measure tip to tip
On a fixed circular, cable length is measured from the tip of one needle to the tip of the other, not just the flexible cable. A “40 cm” fixed circular is 40 cm tip to tip. If you measure only the flexible part, you will underestimate the working length.
Too long is also a problem
A cable that is much too long forces the stitches to stretch around the loop, particularly when working a small circumference in the round. The fabric can pull tight at the joins and the gauge can change. If the cable is longer than you need, use a shorter one, switch to double-pointed needles, or use the magic-loop method with a long cable.
When the project changes size
A sweater body may start on a long cable and finish the sleeves on a short one. A blanket may grow from a 100 cm cable to a 150 cm cable. It is normal to change cables mid-project; the important thing is to keep the stitches comfortable and the fabric relaxed.
If you only have one cable
A long cable can handle a small circumference with the magic-loop method: pull a loop of cable out at one side so the stitches sit on two needle tips. This is the same idea as using a long cable for socks. It is a technique, not a different needle, and it lets one cable cover more projects.
Measuring a cable you already own
Lay the circular needle flat and measure from tip to tip. Do not measure only the flexible cable; the tips are part of the working length. If the cable is unmarked, write the length on a tag and keep it with the needle.
Fixed vs interchangeable lengths
On an interchangeable system, the cable is often sold by its own length, and the working length is the cable plus the two tips. A 40 cm cable with two 10 cm tips gives about 60 cm of working length. Check which convention the manufacturer uses before buying, and measure the assembled needle if you are unsure.
Limits
The estimate assumes a fabric width measured at your gauge. Cables, lace and colourwork can compress or expand the fabric, and personal preference varies. If a cable feels crowded or the stitches are stretching, change it rather than forcing the project to fit.
Measure the assembled needle, and confirm the size with the needle converter.