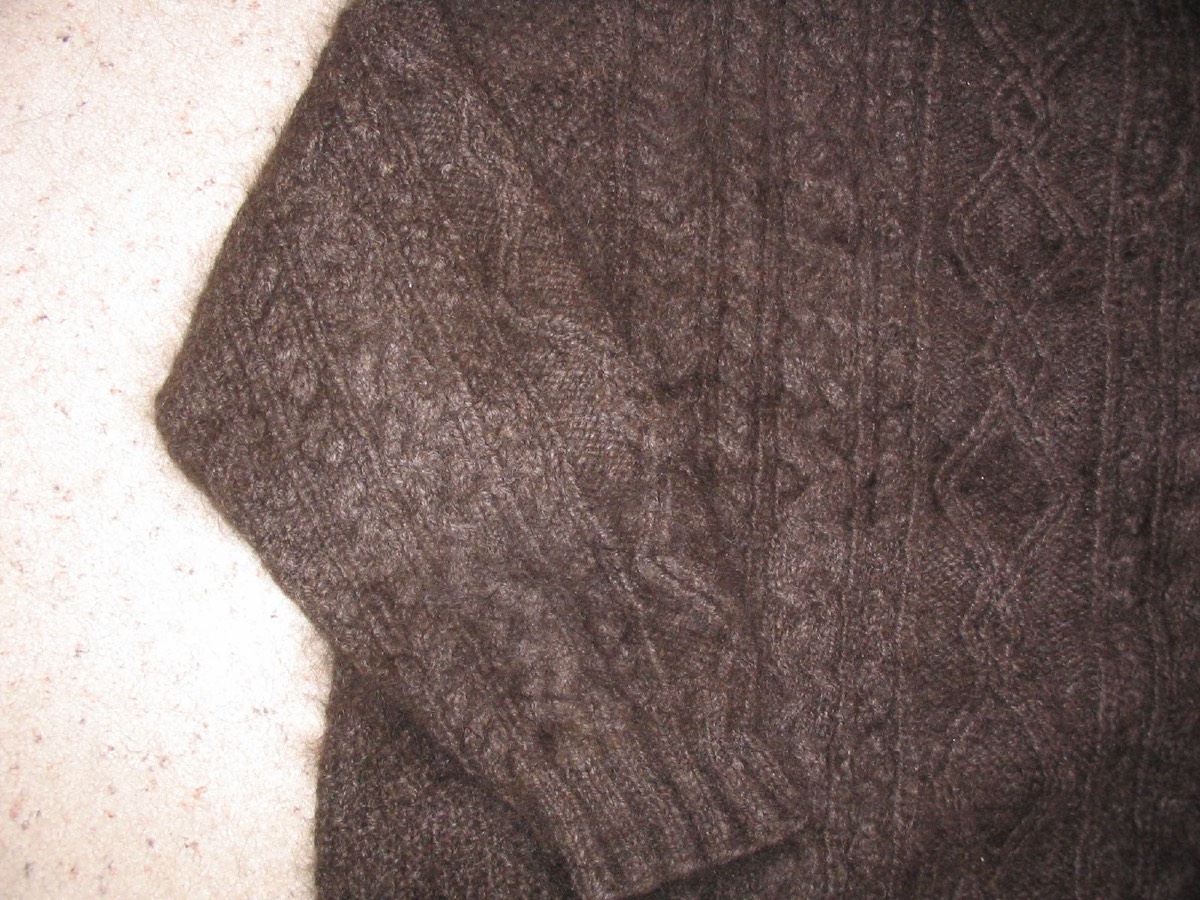

Cables are not just a surface pattern. Crossing stitches uses more yarn and pulls the fabric inward, so a cable panel can measure several centimetres narrower than the same number of stockinette stitches. If you use the stockinette gauge to plan a cable sweater, the body can end up a size too small.
The fix is to swatch the cable panel itself and measure its actual width, not the gauge of a plain swatch.
Why cables change the numbers
- Yarn consumption. A cable crossing takes extra yarn to travel around the front or back, so the panel is denser.
- Width compression. The crossing pulls stitches together; a 40-stitch cable panel can measure noticeably less than 40 stockinette stitches.
- Row height. Cables can compress the vertical dimension, changing row gauge as well as stitch gauge.
- Panel size. The effect depends on the cable's width and the number of crossings, not just the yarn.
How to swatch a cable
- Cast on enough stitches for at least two full cable repeats, plus a few stitches on each side.
- Work the cable pattern for at least 15 cm, including several crossings.
- Wash and dry the swatch as you will treat the garment.
- Measure the width of the cable panel itself, away from the edges.
- Measure the row height over a full repeat.
Do not measure the whole swatch and divide by the stitch count if the swatch includes different stitch patterns. Measure the panel you will use.
A worked example
A cable panel is 40 stitches wide. In stockinette at 20 stitches per 10 cm, 40 stitches would be 20 cm. The cable swatch measures 16.7 cm for the same 40 stitches — a gauge of 24 stitches per 10 cm within the panel.
If the body is built from five panels, the stockinette estimate is 5 × 20 = 100 cm. The cable reality is 5 × 16.7 = 83.5 cm — 16.5 cm narrower.
To reach 100 cm, you need more panels, more stitches between the panels, or a larger needle. Recalculate the body width from the cable panel's actual measurement, not the stockinette gauge.
Adjusting the pattern
- Add stitches between cables. A few reverse-stockinette stitches between panels can restore width without changing the cable itself.
- Add a panel. A whole extra cable repeat changes the design; check the armhole and neckline proportions.
- Change the needle. A larger needle can widen the panel, but it also changes the fabric and the cable definition. Re-swatch.
- Use the panel as the unit. For a cable-heavy design, calculate the body in panels rather than in total stitches.
Row gauge and length
Cables can compress rows as well as stitches. Check the row height over a full cable repeat and compare it with the pattern's row gauge. If the cable repeat is shorter, the body may need more repeats to reach the intended length; if it is longer, fewer.
When it matters most
It matters on fitted garments, cable-heavy sweaters and anything with a large panel. It matters less on a scarf or a loose blanket, where a few centimetres do not change the function. Even then, measure the panel so the finished width is what you intend.
Block the cable swatch
Cables can relax after washing, especially in wool. Measure the panel before and after blocking; a cable that measures 16.7 cm dry may measure 17.5 cm after a wet block. Use the blocked measurement for the final calculation, and check that the cable still looks defined.
Limits
The compression depends on the cable design, the yarn and the needle. A tight, many-crossing cable compresses more than a simple two-stitch cable. Swatch the actual panel; a different cable is a different measurement.
Swatch the cable panel rather than plain stockinette, and measure both directions with the row gauge method.