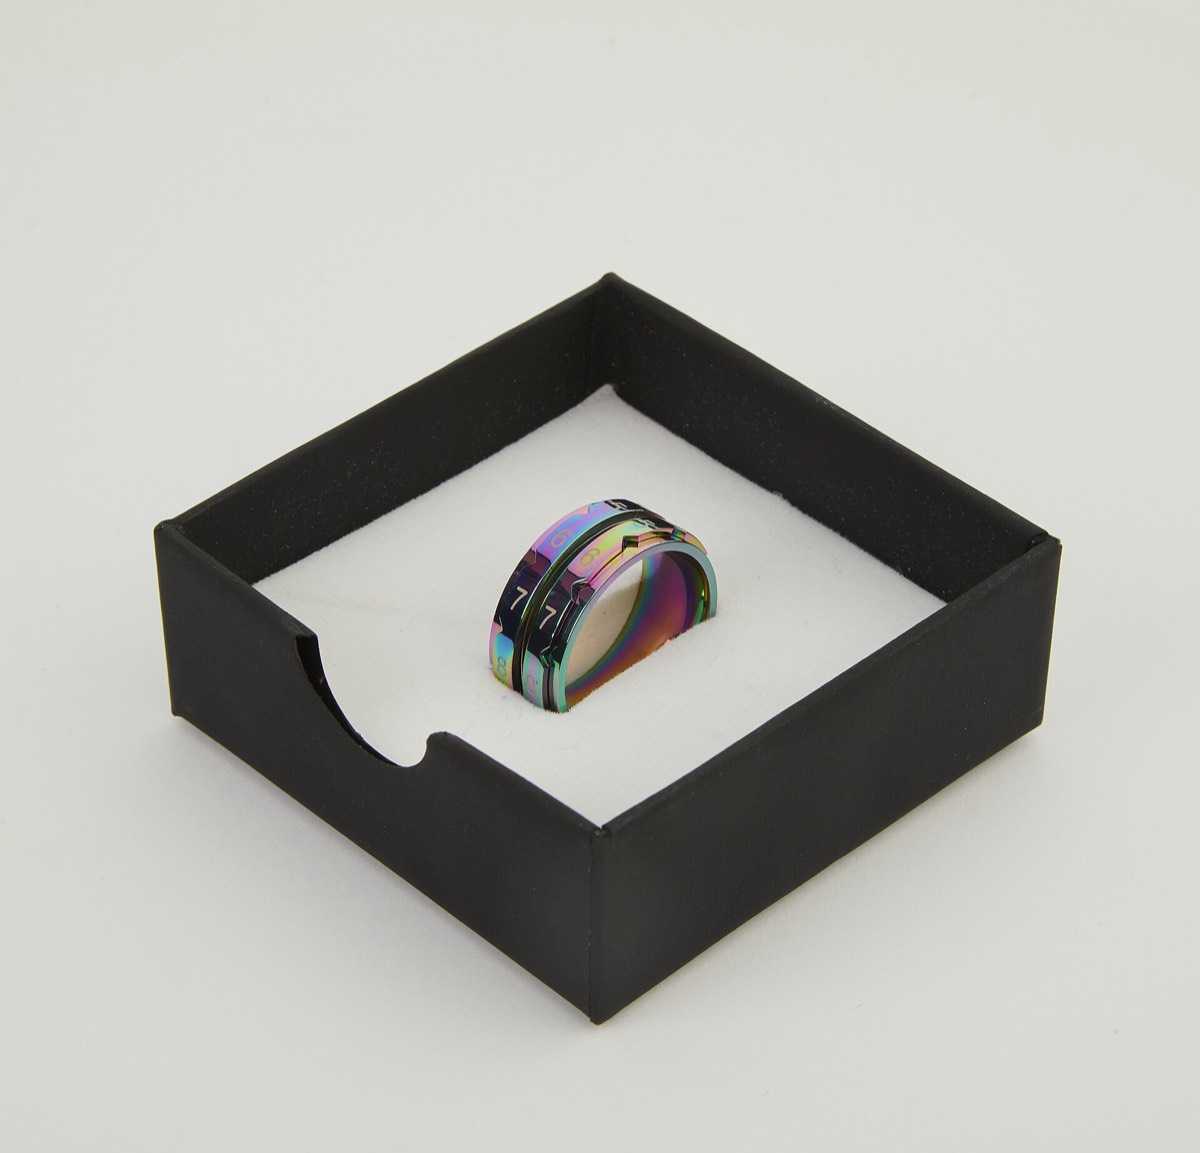

A row counter is a small tool for remembering how many rows you have worked. It is not a substitute for reading the pattern, but it is useful for shaping, pattern repeats and long stretches of plain knitting.
The important question is not which counter you use, but what it is counting. A counter that starts at the cast-on and a counter that starts at the first decrease are two different tools.
The main types
| Type | How it works | Best for | Watch for |
|---|---|---|---|
| Click counter | Press to add one | Long plain sections | Forgetting to click |
| Ring counter | Slides on the needle | Small projects | Can move or fall off |
| Card/dial counter | Rotate a dial | Project bag | Resetting by accident |
| Digital/app | Tap to add | Multiple projects | Phone distractions |
Decide what you are counting
- Rows since cast-on: zero at the cast-on. Useful for a pattern that says “work 40 rows”.
- Rows since the last shaping: zero at the last decrease. Useful for “decrease every 8 rows”.
- Pattern repeats: zero at the start of the repeat. Useful for lace and cables.
- Rows on the right side: count only right-side rows if the pattern is written that way.
Write down what the counter is counting. A number without a reference point is not a row count.
A worked example
A sleeve decrease says “decrease 1 stitch each end every 8 rows”. Zero the counter at the first decrease row, then work 7 rows, decrease on the 8th, and reset to zero. Repeat until the sleeve reaches the underarm.
If you forget to reset, the next decrease lands too early or too late. A counter that counts total rows is less useful here than one that counts the interval.
Common mistakes
- Counting the cast-on as row 1 when the pattern counts it as row 0.
- Counting wrong-side rows when the pattern counts right-side rows only.
- Using one counter for two projects.
- Resetting the counter before writing down the number.
- Trusting the counter instead of measuring the piece.
Counting in colourwork
Colourwork charts are usually read row by row, and a counter helps you keep your place. Zero the counter at the first row of the chart, and write the chart row number next to the counter. When you put the project down mid-row, note the stitch as well; a row counter cannot tell you where you stopped within the row.
For repeating motifs, count pattern repeats rather than total rows. A counter that reads “3 repeats” is easier to check against a chart than a counter that reads “37 rows”.
Counters and length
A row counter tells you how many rows, not how long the piece is. Row gauge can drift, and different stitch patterns have different row heights. Measure the fabric every few centimetres, especially in a long body or sleeve. The counter is a backup, not the primary measurement.
A simple backup
Keep a small notebook or a note on your phone with the project name, the row number, and what the counter is counting. At the end of a session, write the number down. If the counter is knocked or reset, the note is the record. This takes ten seconds and saves a sleeve.
Limits
Counters are simple tools and they fail in simple ways: a missed click, a reset, a dead battery. Treat the counter as a memory aid, not as a measurement of the fabric. Keep a written note of the row number at the end of a session, especially for a complex project. The note is the reliable record; the counter is the convenience.