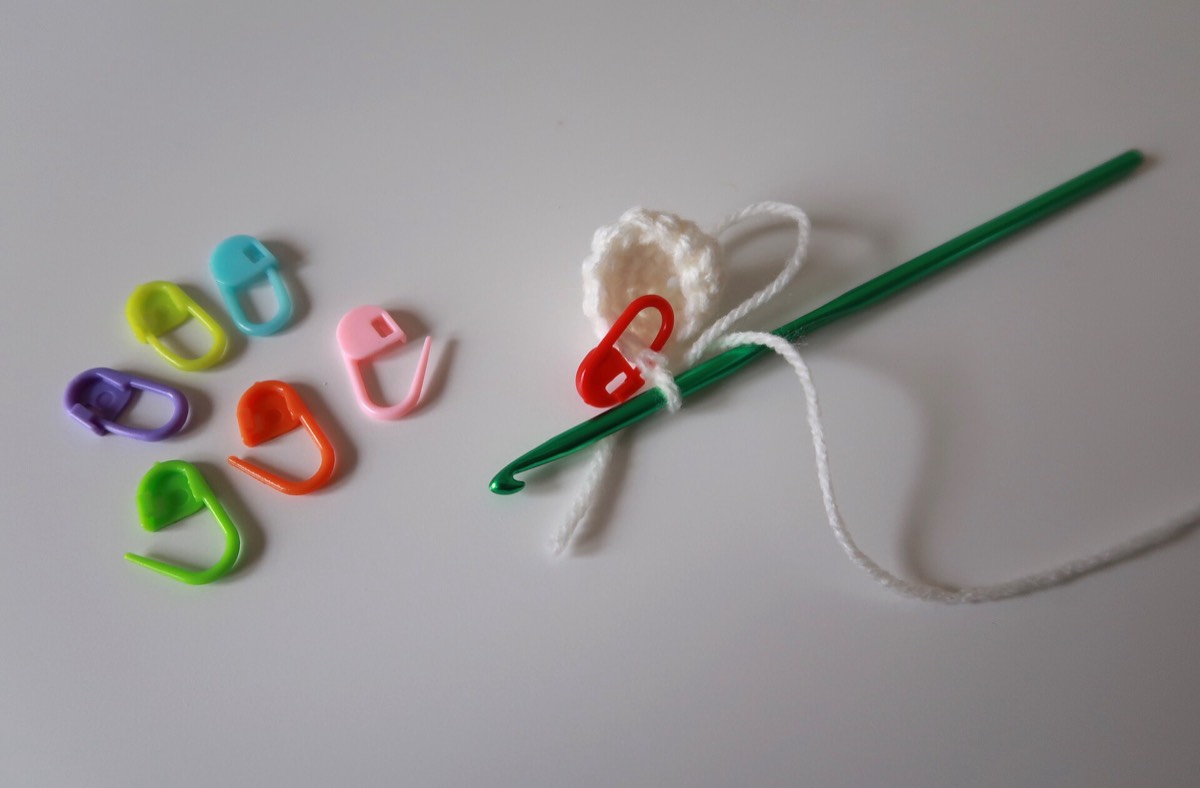

Stitch markers are small tools that mark a place in the knitting: the beginning of a round, a pattern repeat, an increase point or a stitch that needs attention later. The right marker depends on whether it needs to stay on the needle, open and close, or hang from a stitch.
Using the wrong type is a common source of annoyance: a closed ring that cannot be removed from a lace stitch, or a removable marker that keeps falling out.
The main types
| Type | How it works | Best for | Watch for |
|---|---|---|---|
| Closed ring | Slides on the needle; cannot be opened | Beginning of round, repeats, raglan lines | Must be removed before the stitch is worked |
| Split ring | Opens to clip onto a stitch or needle | Marking a stitch in the fabric | Can catch fine yarn |
| Locking marker | Closes like a safety pin | Holding a stitch, marking a place | Bulk; can leave a small hole |
| Progress keeper | Hangs from the fabric | Marking a row or a milestone | Can tangle with yarn |
| Bulb pin | Pin with a coloured head | Marking a stitch in lace or fine work | Can fall out |
How to use them
- Beginning of round: a closed ring in a contrasting colour, placed after the last stitch of the round.
- Pattern repeats: a closed ring between each repeat; remove and replace as the repeat moves.
- Raglan lines: four markers, one at each increase point; colour-code the front, back and sleeves.
- Lace: a removable marker or bulb pin at the start of a repeat, so it can be moved without disturbing the hole.
- Holding a stitch: a locking marker or a spare cable, not a closed ring that will not come off.
Sizes and materials
Markers must fit the needle. A marker that is too small will not pass over the join of a circular needle; one that is too large will slide off the tip. Match the marker’s inner diameter to the needle size, and test it on the actual needle before casting on.
Metal markers can snag fine, hairy or mohair yarns. Smooth plastic, coated wire or silicone markers slide more easily. For lace, choose a thin removable marker or a bulb pin that will not split the yarn.
Flat vs in the round
In the round, a closed ring at the beginning of the round is enough for many patterns. In flat knitting, place a marker on the right side of the work so you can find the same point on the wrong side. A marker that hangs from the fabric is easier to move than one that lives on the needle.
A worked example
A top-down raglan has four increase lines. Place a closed ring at each line, and use a different colour for the beginning of the round. On every increase round, work to the marker, increase, slip the marker, and continue. The markers stay on the needle and move with the raglan line.
If a marker is too large, it can slip over the needle tip and disappear into the fabric. If it is too small, it will not slide over the join. Test the marker on the needle before starting a large project.
Avoiding common annoyances
- Too-small markers that will not pass over the needle join.
- Too-large markers that fall off the tip.
- Metal markers that snag fine or hairy yarn; use smooth plastic or coated wire.
- Removable markers left in place through a wash; remove them before blocking.
- Too many markers in a lace pattern; mark the repeat, not every stitch.
Limits
Markers are a convenience, not a substitute for reading the pattern. If you rely on markers, check them at the end of every round; a marker that has slipped or been moved will make the next round wrong. For complex lace, a written row count and a marker at the repeat are more reliable than markers alone.