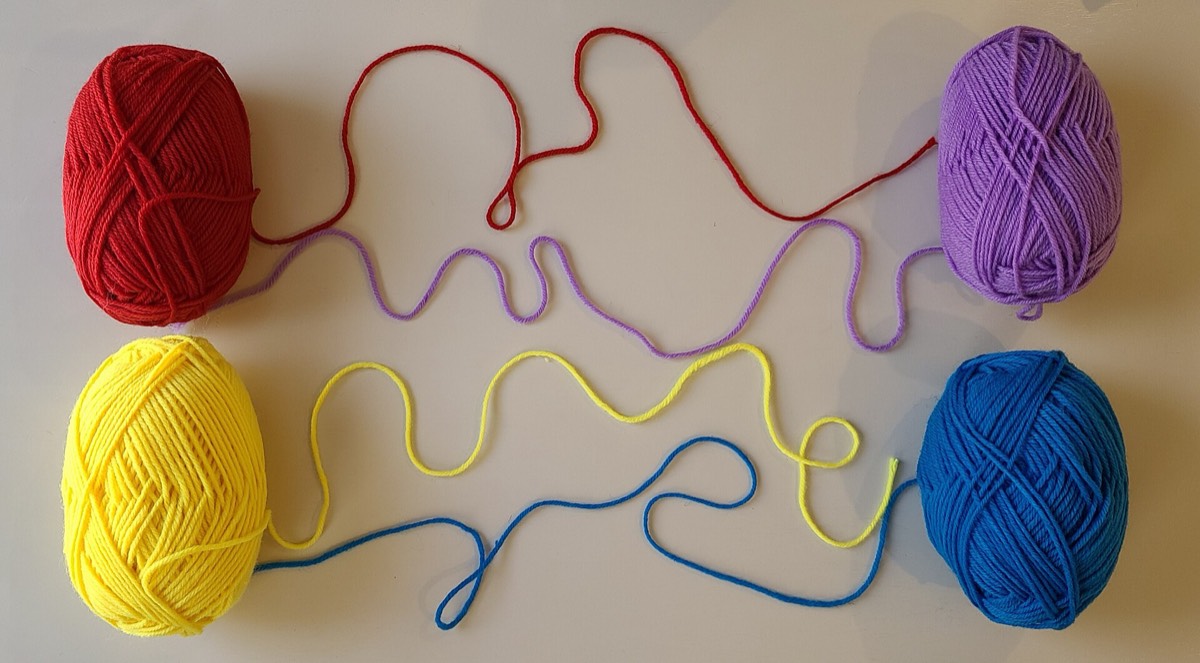

Partial skeins are easy to underestimate. A basket of leftovers looks like plenty until you add up the metres and discover that three part-balls contain less than one full skein. The fix is to treat the stash as a quantity problem: measure it by length, decide what the project actually needs, and design around the gap.
1. Inventory by length, not weight
Weight tells you how much yarn is left; length tells you how much fabric it can make. For each partial skein, estimate the remaining length:
remaining length = (remaining weight ÷ full skein weight) × full skein length.
A kitchen scale that reads to 1 g is enough. If the label is gone, use a known yarn of similar weight and fibre as a density reference, or measure wraps per inch and accept more uncertainty. Write the estimate on a tag and attach it to the ball.
2. Add it up and compare
Total the estimated metres, then compare with the project's requirement plus a buffer. A 10% buffer is sensible for a scarf or blanket; 15% is safer for a garment or a complex stitch pattern.
If the total is short, you have three honest options: choose a smaller project, introduce a contrast yarn, or change the design so the partial skeins are used where the length is not critical.
A worked example
Three partial skeins: 120 m, 80 m and 200 m. Total: 400 m.
The project needs 380 m. With a 10% buffer, it needs 418 m. The stash is 18 m short — about 5%.
Options:
- Shorten the project by a few centimetres. A narrower scarf or a shorter cowl may fit within 400 m.
- Use a contrast scrap for the last few rows, the border or the cast-on. The design change becomes intentional.
- Choose a smaller size or a simpler stitch pattern that uses less yarn.
- Add a full skein of a matching yarn, if one is available, and keep the partials for a future project.
3. Check compatibility
Partial skeins can be combined if they are close in weight, gauge and fibre behaviour. Swatch them together. A smooth worsted and a haloed alpaca may both be “worsted”, but the fabric will change where the yarn changes.
Check care too. A machine-washable acrylic and a hand-wash wool in the same project create a care problem for the finished object. If the fibres are different, wash the swatch the way you will wash the finished item.
4. Design around the constraint
Partial skeins are easiest to use when the design expects variation:
- Stripes and colour blocks. Use each partial for a section and let the change be part of the pattern.
- Contrast borders and cuffs. Put the short skeins at the edges, where running out is less disruptive.
- Scrappy blankets and shawls. Alternate skeins every few rows to blend colours and distribute length.
- Small accessories. Hats, mitts and cowls use less yarn and tolerate colour changes.
5. Join and manage dye lots
Different partial skeins may come from different dye lots. If the colours are close, alternate them every two rows to blend the transition; if they are different, make the change a design feature. Leave long tails and weave them in securely. Avoid knots that can work loose in wear.
6. Keep a stash note
Record the estimated length, fibre, weight and care for each partial skein. A simple tag or a note on your phone prevents the next project from starting with the same uncertainty. If you use a scale, write the date and the remaining weight; the length estimate can be recalculated later.
Limits
Length estimates from weight are approximate, especially for fuzzy or airy yarns. The buffer is there to absorb the error. For a fitted garment, do not rely on partial skeins unless you have enough total length with a comfortable margin; running out mid-sleeve is much harder to solve than running out on a border.
Compare the leftovers with the sock and hat estimates to see what they can cover.