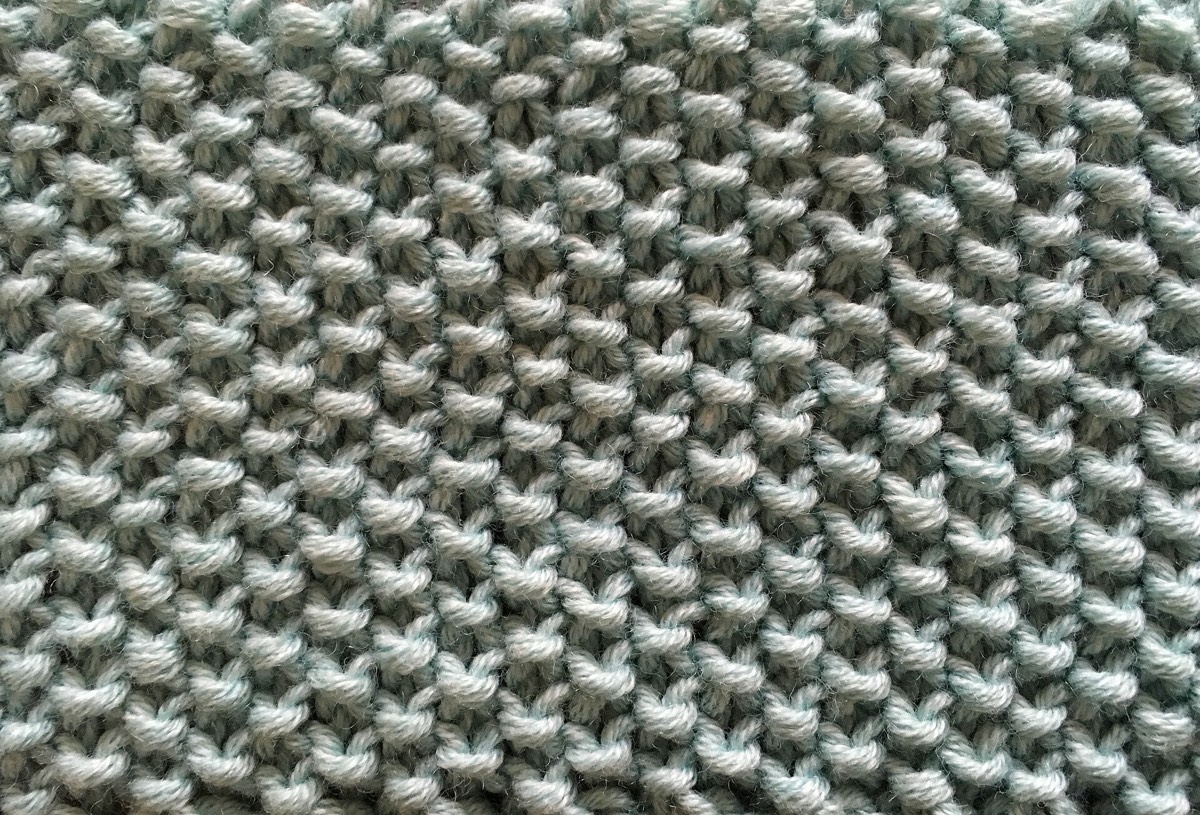

You found a substitute, swatched it, and the gauge is close — but not exact. One stitch per 10 cm feels like it should be fine. Sometimes it is; on a fitted garment it can be a whole size.
The decision is not “is the number close?” It is “how much width does the difference create, and can this garment tolerate it?”
Turn stitches into width
Take a 100 cm body worked at the pattern's 20 stitches per 10 cm. That is 200 stitches. Here is what happens if you keep 200 stitches and your gauge is slightly different:
| Your gauge | Width at 200 sts | Difference |
|---|---|---|
| 20 sts / 10 cm | 100 cm | — |
| 21 sts / 10 cm | 95.2 cm | −4.8 cm (5%) |
| 22 sts / 10 cm | 90.9 cm | −9.1 cm (9%) |
| 23 sts / 10 cm | 87.0 cm | −13 cm (13%) |
A 5% difference is roughly one garment size in many size charts. A 10% difference is two. That is why “one stitch” is not automatically harmless.
Ask four questions
- How fitted is the garment? A loose cardigan with 10 cm of positive ease can absorb 5%. A negative-ease sock or fitted sweater cannot.
- Which direction is the error? More stitches per 10 cm means a narrower garment at the same stitch count. Fewer stitches means a wider one.
- Is row gauge also off? If stitches are close but rows are far out, the shaping may still be wrong.
- Does the fabric feel right? A gauge that matches by changing needles but produces a fabric you do not like is not a match.
Your options
- Keep your gauge and recalculate. Multiply your stitches per cm by the finished width. This is the cleanest option for simple shapes and for patterns with clear schematics.
- Change the needle and re-swatch. A 0.25–0.5 mm change can close a small gap. Check that stitch and row gauge both move in a direction you can live with.
- Choose another size. If the pattern has sizes, a 5–10% difference is roughly one size. Check the finished measurements, not just the label.
- Adjust the ease. If the pattern is loose and the difference is small, you may decide the resulting fit is acceptable. Be explicit about that choice.
- Use a different substitute. If the yarn cannot reach the gauge without a fabric you dislike, it is the wrong yarn for this project.
A worked example
The pattern asks for 20 stitches per 10 cm and a 100 cm body. It has 5 cm of positive ease, so the intended finished chest is 105 cm.
Your substitute gives 21 stitches per 10 cm. If you follow the pattern's 200 stitches, the body measures 95.2 cm. That is 9.8 cm less than intended, and slightly less than the actual body measurement — the garment may not fit at all.
Recalculate instead: 2.1 stitches per cm × 105 cm = 220.5, rounded to 220 stitches. Then check the armhole and sleeve shaping, which were written for a different stitch count.
When “close” is fine
- Scarves, blankets and loose accessories where a few centimetres do not change the function.
- Garments with generous positive ease and simple shaping.
- Projects where you are deliberately resizing and have recalculated the key dimensions.
“Close” is not fine when the garment depends on negative ease, a fitted armhole, a specific row gauge or a stitch pattern that must match across seams.
Row gauge is a separate decision
You can be close on stitches and far out on rows. Check both. If rows are off, the armhole depth, sleeve cap and vertical repeats may not land where the pattern intended, even if the width is correct.
Limits
Gauge is a sample, and the finished fabric can still move after washing or wearing. Treat the calculation as an estimate, not a guarantee, and check the real project after the first few inches.
For the measurement step see how to measure gauge; for the yarn maths see how to substitute yarn.